The choice to use Windows for a development machine is one that is often met with confusion. “Why would you use Windows when macOS has a native terminal!?”, is a question I would hear with some frequency. Now, this would have been true prior to 2016, but with the introduction of the Windows Subsystem for Linux (WSL), this all changed.
Windows Subsystem for Linux
What is WSL? Well, that’s a little tricky to answer since there are now two implementations. For WSL v1, it’s simply a system-call translation layer that allows for running ELF binaries natively (i.e., without virtualization). This means that you can run Linux binaries at very close to native performance levels (but there’s still a penalty for the syscall translation).
Due to how Linux interoperability was implemented in WSL v1, there were some limitations. Namely, around networking. Further, it became more and more difficult to eek out performance by using a translation layer (read: more complexity). So, with the release of WSL v2, Microsoft adopted virtualization model using a tuned version of their Hyper-V virtualization subsystem.
In WSL v2, you get a more pristine LInux experience, and everything works as you would expect (including networking), and performance is generally very good. However, it’s worth noting that due to the virtualization, the “guest” operating system no longer has direct access to the host filesystem. The host filesystem is mounted as a “shared folder”, and uses the Plan 9 Filesystem Protocol. This results in some serious speed issues when traversing the virtualization boundary. You can read all about it in this GitHub issue.
In general, I continue to use WSL v1, as it suits my needs. However, the choice of WSL v1 over v2 is one thing; actually using them is another.
Seamless Interaction
For me, I need my terminal a keypress away. I spend a lot of my time in a terminal, but I also multitask. So, being able to bring up one, or preferably more, terminals is critical.
My first approach was to use the terrific ConEmu, a open source terminal emulator that has support for innumerable shells. One of the key features, in my opinion, is “Quake Mode”. Those familiar with the 1996 hit video game Quake by Id Software will know of the way that the console was made visible – you pressed the tilde key (~) and down slid a console window.
Having ready access to the console in Quake was necessary, as it was a means for chatting, as well as inputting commands. It was extremely convenient. As such, I looked for a tool that could do this with my terminal window(s). It turned out that ConEmu has a Quake Mode.
Now, using WSL with ConEmu does require a bit of tinkering, but the instructions are pretty clear and easy to follow. I used this setup for about five years and was completely happy with it.
With this setup, I can call up my terminal with a simple keystroke. Not only that, but the terminal is tabbed, so I can have multiple simultaneous terminal sessions easily within reach.
Windows Terminal
Starting in 2019, Microsoft stepped up their terminal game by releasing Windows Terminal. This was seemingly the first time that Microsoft recognized that, for an engineer, having a fully-featured terminal was a necessity, especially given WSL.
Windows Terminal is a very polished terminal emulator that works seamlessly with WSL. Terminal colors, fonts, unicode characters, emojis; they all just worked and worked well. This makes things like Powerline work smoothly and with little setup.
The problem? Windows Terminal is not really supported by ConEmu. The way that Windows Terminal is launched is through an executable which launches the actual terminal. Because of this ConEmu has a hard time using it as a “shell” (or “task” in ConEmu parlance).
The good news is that Windows Terminal supports Quake Mode! The bad news is that while it supports Quake Mode, it only supports it for a single terminal; no tab support! This is a deal-breaker for me as I need to multitask with my terminals, and I prefer not to use terminal multiplexers like tmux since I’m not at an actual terminal, and I have a full, sophisticated, windowing system that I’d rather not waste.
What to do? How do I get Quake Mode with tabs, but also the functionality and speed of Windows Terminal?
The Workaround
To get the functionality that I want, I have a few options. I can contribute to Windows Terminal or ConEmu projects, and hope that a PR is accepted. This is the ideal route, since undoubtedly there are others looking for the same solution.
However, time being what it is, and my having very little of it, I needed a stopgap. Well, to be fair, ConEmu by itself is fine and I could have just left well-enough alone, but the allure of Windows Terminal made it so that I had to at least try to find a short-term solution.
It turns out the solution was right there all along. I simply had to pair ConEmu with Windows Terminal. I know that I mentioned earlier that ConEmu doesn’t play nicely with Windows Terminal due to the way that Windows Terminal launches. But, ConEmu has a neat trick – it can “attach” to any window.
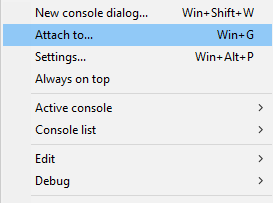
So, to get the desired outcome, I simply have to start up Window Terminal, open ConEmu and use the “Attach To” functionality:
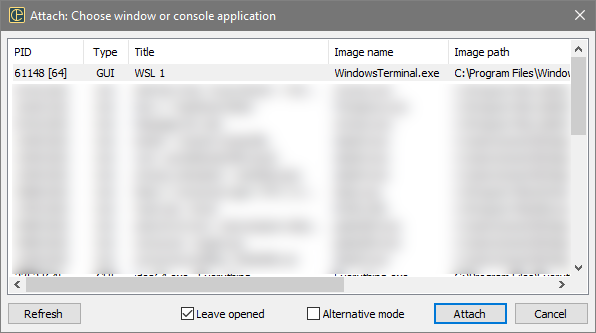
From there, I can simply select my Windows Terminal process:
Once Windows Terminal is attached, then the Quake Mode functionality of ConEmu works as expected. Plus, since Windows Terminal supports tabs, the result is Windows Terminal with proper Quake Mode support including tabs!
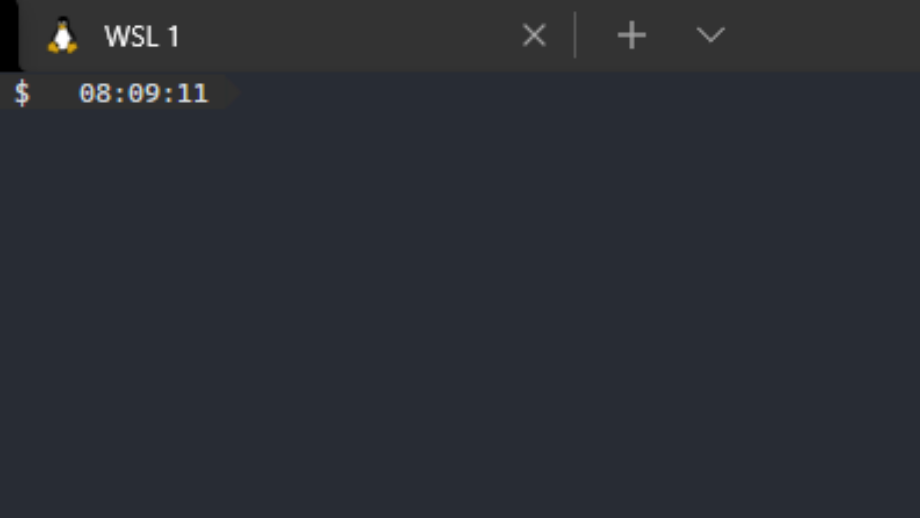
When I hit Ctrl+~ (my preferred keystroke for Quake Mode), I see the following:
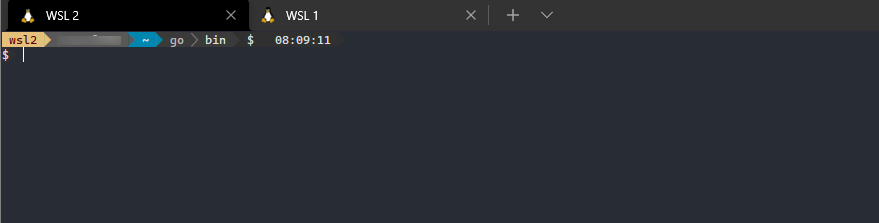
From here I can add new tabs with the “+” or use the down-arrow to choose a new terminal.
With this approach, I get the best of both worlds. I get the speed and polish of Windows Terminal, with the convenience of Quake Mode thanks to ConEmu. All of this means that a Windows machine is just as powerful, if not more powerful, than macOS with respect to having a “real” terminal.